Boiler Feed Pump Element Fails Due to Cheap Fix
Hydro, Inc.
12/21/2017
The consequences of poor quality repairs can result in premature failure, unplanned outages and higher repair costs because follow up after the initial attempt is considered an emergency repair. That was the situation when a major fossil plant experienced an emergency failure of a six-stage, boiler feed pump element. It was a quiet holiday night when the pump had to be pulled due to lack of flow, causing a plant shutdown. Unfortunately, when the plant tried to set the spare element up on bearings, employees were unable to turn the rotor. In this case, the emergency occurred when the repaired spare element had to be used immediately after initial failure. Thus, the problems with the previous repairs were uncovered.
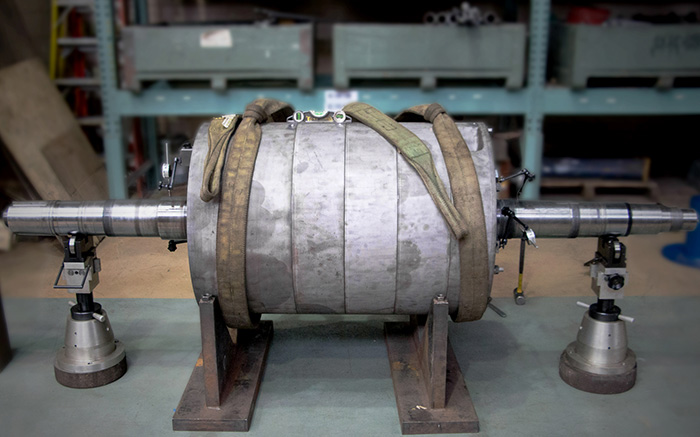 Image 1. Worthington element set on precision v-blocks, checking vertical and horizontal clearances at the suction end and discharge end. These checks are used to see if element is concentric. (Images courtesy of Hydro)
Discovering the Problem
The discharge head had wire drawing on the fit of the twin volutes. Wire drawing, or water cutting, is the high-pressure discharge from the last stage impeller that tries to leak past the fit of the volutes, causing lack of flow. The fit should be one to three thousandths clearance, but when inspected, the pump was measured at six to seven thousandths clearance.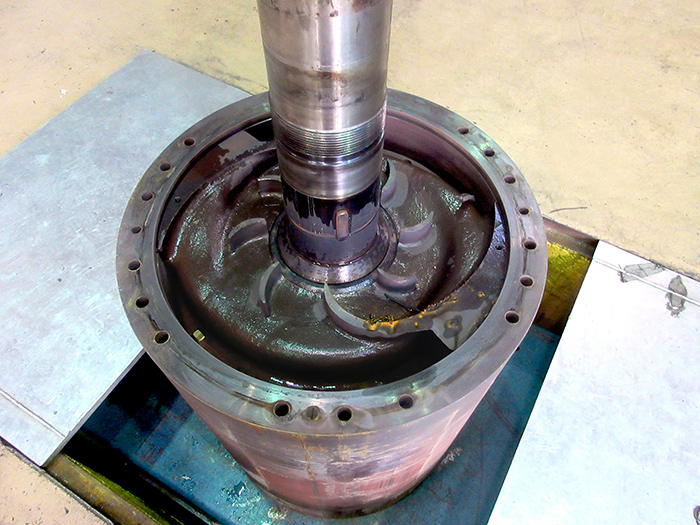 Image 2. Original Worthington element being disassembled
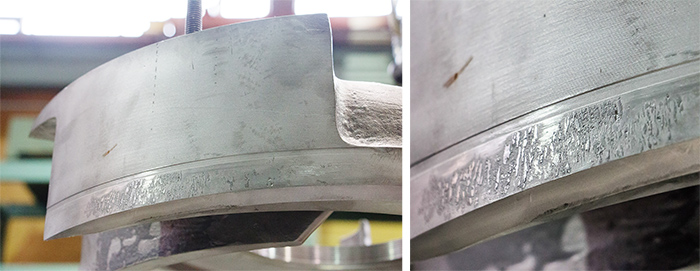 Image 3. Worthington diffuser male fit, shows previous damage that was not repaired
- high total indicated runout (TIR) on one diffuser-locating fit
- excessive clearance on two diffuser-locating fits
- fretted coupling fit, shaft sleeve fits and balance disc fit
- excessive clearance to the discharge twin volute
- water cutting
- excessive clearance on the locating fit
The Solution
The plan included welding up the diffuser locating fits on stage pieces one through five, then checking for parallelism and perpendicularity. The diffuser’s machined fit locates the diffuser while keeping it concentric to the case ring. The diffusers were staged one through five by checking parallelism and perpendicularity of the machining, size of the locating fit for proper clearance to the stage piece and making sure it was concentric to the diffuser bushing. The locating fit of the discharge twin volute was machine-prepped, welded and machined to a given size while keeping it concentric to the case ring, and checking for parallelism and perpendicularity. The discharge heads and the balance disc head were ground to correct the surface finish. The wire drawing issue was fixed by setting up the volutes in the vertical turret lathe (VTL), prepping, and welding with ER309L weld wire as an overlay. It was then machined back to a standard size, giving interchangeability of this discharge head to the rest of the elements. The discharge head’s concentricity was verified, and it was checked to be precisely parallel and perpendicular. Finally, the repair company installed the balance disc head and checked TIR. The shaft was prepped for chroming on the journal bearing diameters, coupling fit, coupling end shaft sleeve fits, balance disc fit and thrust end shaft sleeve fits. After chroming and grinding the shaft, the new element was ready to be built and set up in the barrel. The pump was tested and the original equipment manufacturer (OEM) pump curve was successfully met.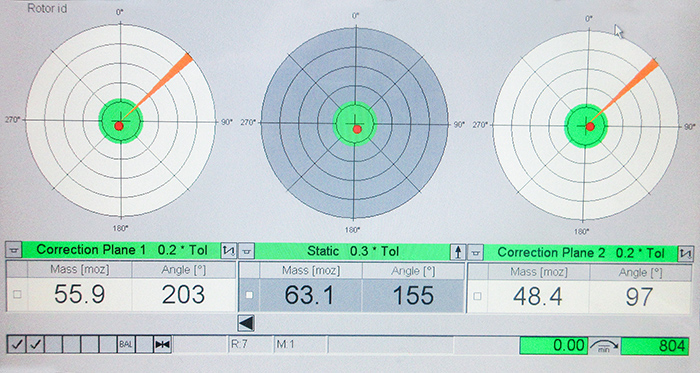 Image 4. Worthington rotor final balance
